How to install Split AC with 4 Easy Steps?
Most people hire AC mechanics to install their system perfectly. However, it’s also a DIY thing you just need to have a little knowledge of tools, screws, and drill machine. If you are familiar with these things follow the below-mentioned steps for your Split AC installation-

- Install the inner system-
- The first thing you need to do is select the wall. The wall must be strong enough to hold the weight of the AC weight and wide enough to ensure proper air circulation. The wall must be 9 to 10 feet tall as a split ac installation requires a height of 7 feet and a wide area of 15cm from all sides.
- Now install the mounting plate on the selected wall. You will need a drill machine to make holes in the required areas and then place screws to fix the plate. Also, make sure the plate is levelled.
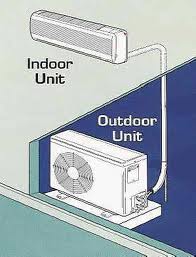
- If you have seen a split AC, it has a pipe attached from the interior to the exterior system. For that, you need to make a hole on either side of the top of the air conditioner.
- Connect the cable wires to the back of the panel and make sure every wire is plugged in.
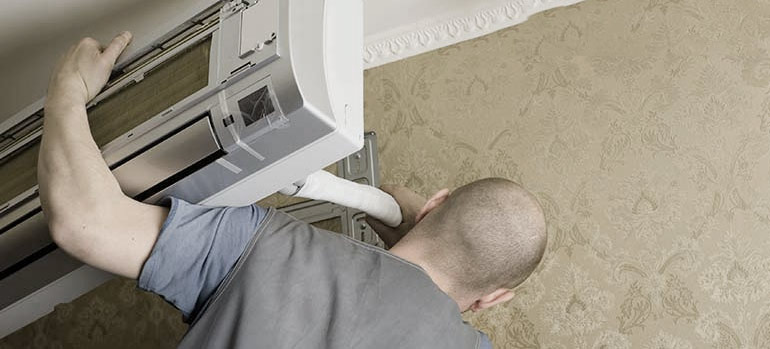
- Now insert the PVC pipe through the hole into the inner system. Now mount the inner system to the mounting plate.
- Installing the outdoor unit-
- Again, the first thing is to select the perfect location. A flat spacious location without any dirt or pollution would be an ideal location for the outdoor unit.
- Set the provided cushion or concrete pad and check the level of the base. If your base is not levelled the system will probably vibrate and hinder the machine’s performance.
- Remove the unit’s cover and plug in the power and secure the PVC pipe into the outdoor system.
- Complete the installation-
- Open the 2-way caps and connect a vacuum hose to the service port. Turn the vacuum on till it reaches 10 mm Hg. This will conjure a pressure into all the pipes and you can check for any leaks. Now, remove the vacuum and secure the pipes.
- Wrap all the joints with a wrapping tape to insulate the joints and prevents any leakage.
- Now add clips to the wall pipes to decrease any movement and potential wear and tear. And clay to the hole gap to ensure a perfect isolation of the room so that no processed air is lost.
- Check your system and enjoy
- Now run your air conditioning system and make sure every screw is tight, the outdoor system is stable, make sure there is no air leakage and especially check for any water dribbling. Dribbling water is caused due to installation failure of not angling the AC, which results in less water to drain away.


Thank you for sharing this valuable blog on air conditioning installation! As someone considering improving my air conditioning system, I found the step-by-step instructions and recommendations helpful. This is an excellent resource for anyone trying to ensure a smooth and efficient AC installation process. Well, I am done!